Mega menue
Permalink Mega menue
A number of categories need to be defined before a mega menu can be set up. You can allocate an image to each product category in the backend under Products -> Product Categories.
Alternatively, since version 1.1, the option is available to assign menu items to the second level of the main menu directly under Design -> Menus Images, regardless of whether this is a product category or not.
To use this option, please select the option “Use menu items as image source” under Design -> Customizer -> Header -> Sub-Menu.
Permalink Set up
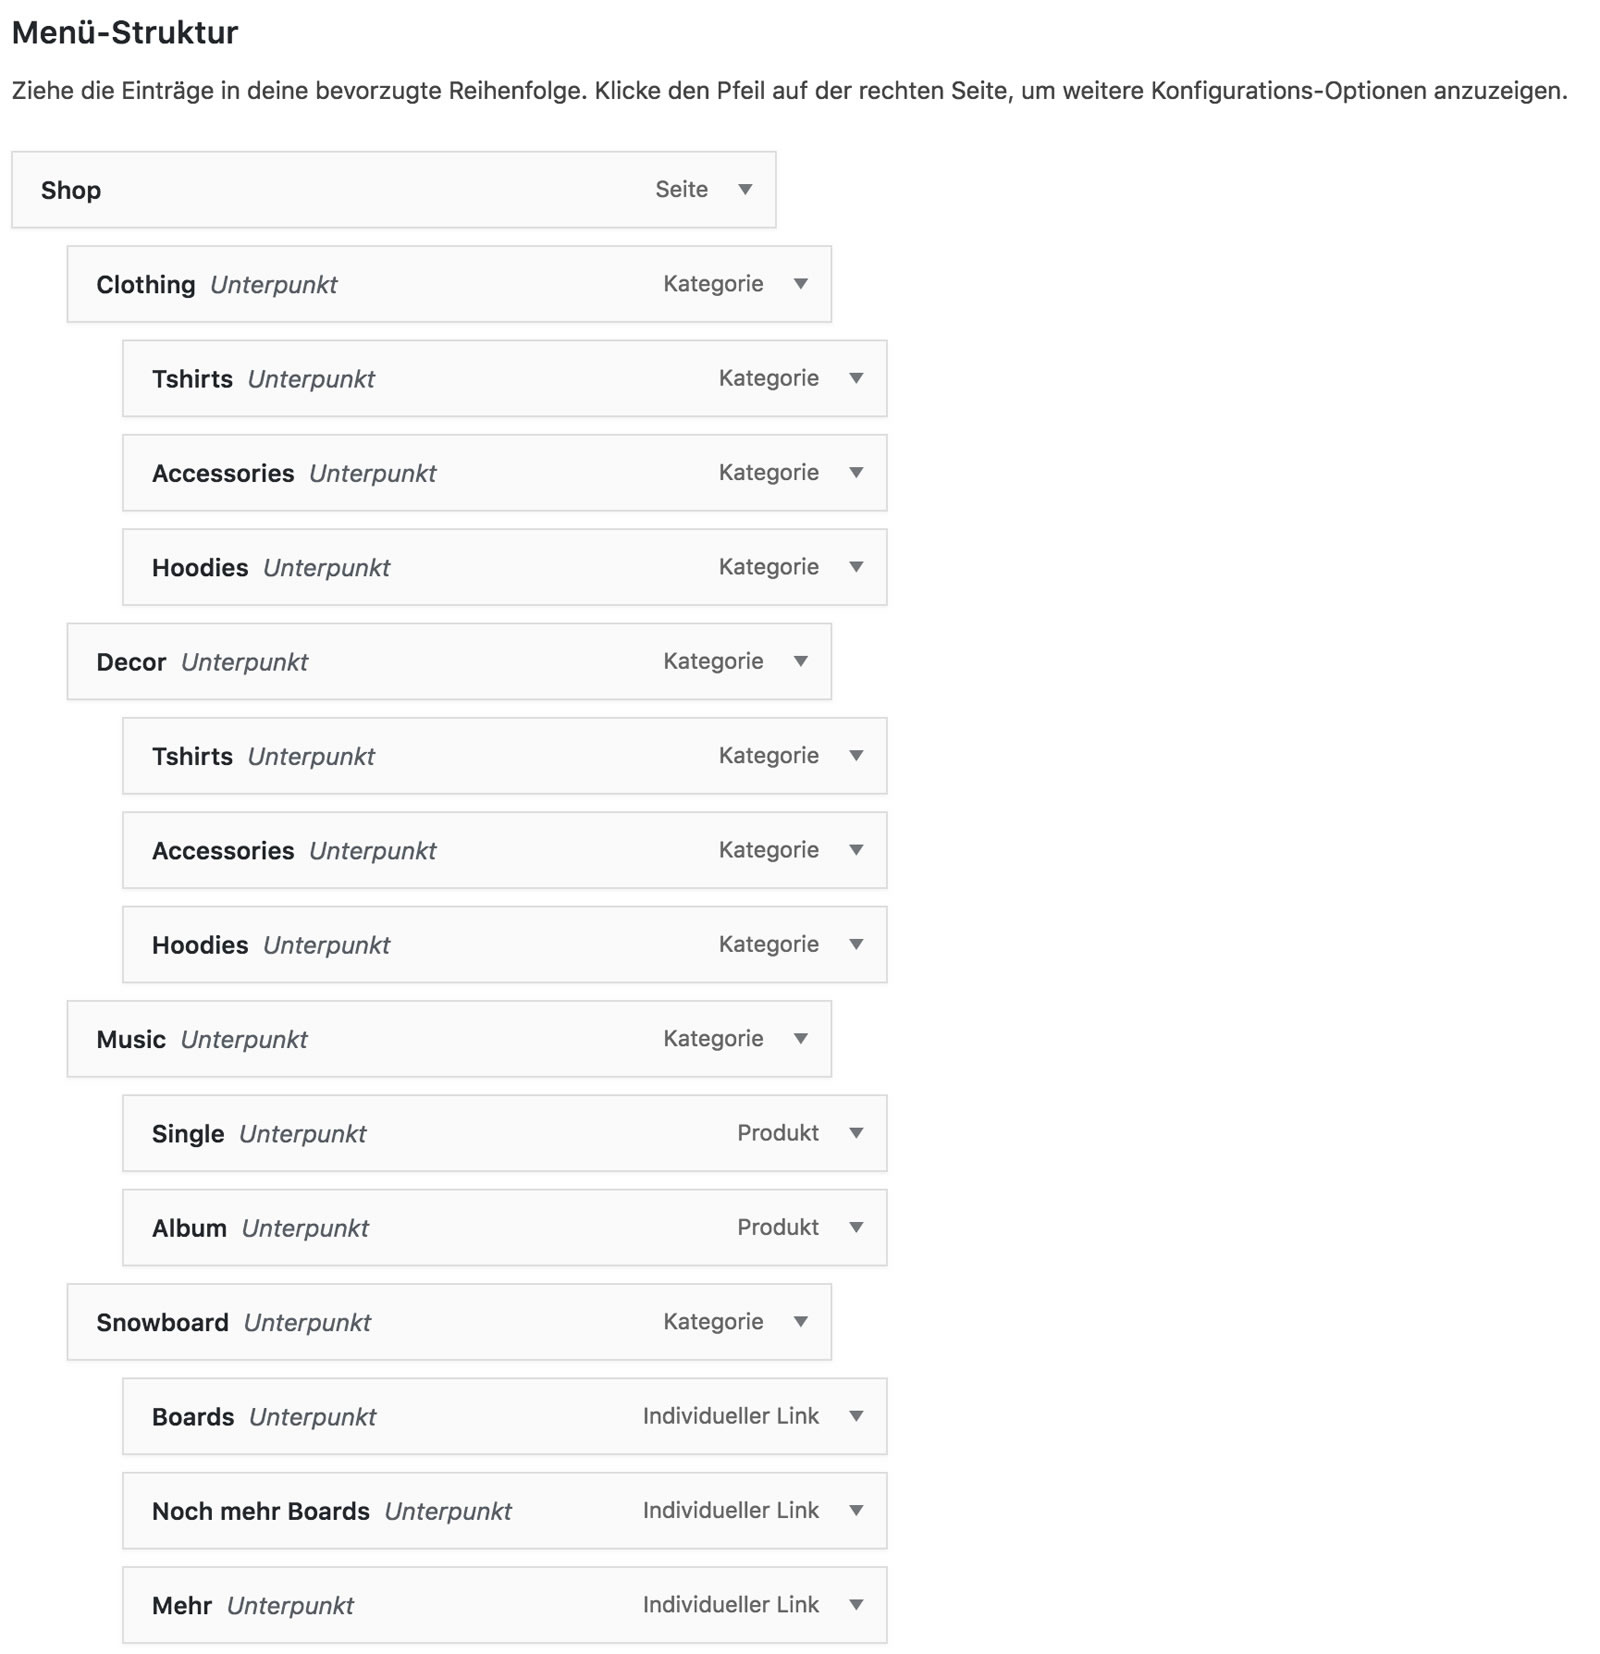
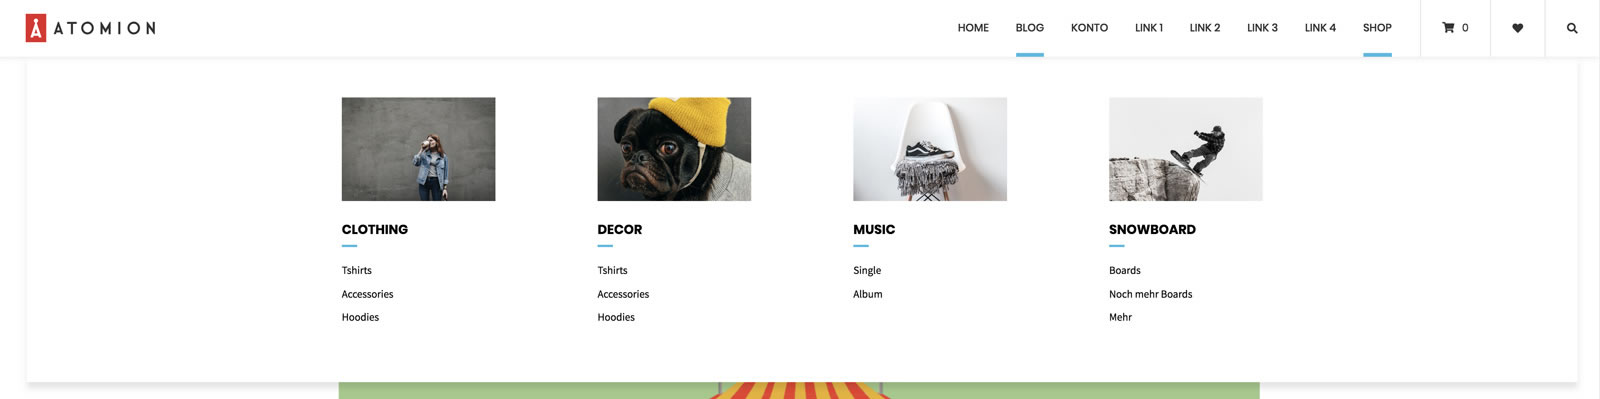
In order to display a category and the image assigned to it in the menu you need to make the category subordinate to the menu item. This can be done under Design -> Menus. If no product categories are available for selection you need to click the Change View button and tick the Product Categories checkbox. In the screenshot Shop is on the first menu layer and the categories Clothing, Decor, Music and Snowboard are all on the second. Product categories that are on the second layer and have had an image assigned to them are displayed next to one another with their name and image. All subitems (for example T-Shirts, Accessories and Hoodies in the case of Clothing) are on the third layer of the menu.
If you use the option “Menu items as image source” (see above), you define the images directly in the menu under Design -> Menus. If you click on a menu item of the second level, you can now select an image. Optionally, you can also specify another image, which is displayed when you move the mouse over the first image. You can also set whether the menu should be displayed above or below the image.